It’s done; it’s done!!! AND I love it! Oh! You wonder what this excitement is all about? Well, I’m glad you stopped by for today’s “Show and Tell”. You see, I love to sew and craft and scrapbook and well, be creative. However, I have not had a very functional space to keep supplies and to make things. That is until now. I (along with some much appreciated help from Hubby) just transformed a bedroom closet into a very organized and functional sewing/crafts/scrapbooking center! Finally, I have everything at my fingertips with workspace included! Oh dear, I’m getting way ahead of myself! Let me just give you a step-by-step of this transformation.
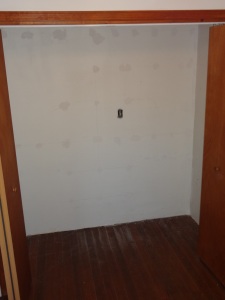
This closet with double bi-fold doors had a wire closet organizer. We removed the organizer and plan on using it in a different closet. This left holes in the wall, so I patched them and repainted the walls and ceiling. It was important to keep it as light as possible for my workspace. I did not have to buy paint because I had enough left from a different project.
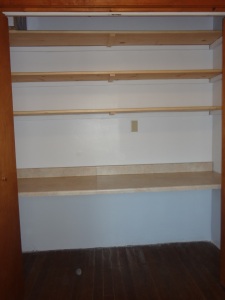
Next was shelving and work table. This was really my only expense! I was able to find formica counters on sale. This was my area to splurge as I wanted a smooth surface to eliminate snagging fabric and also easy cleanup for glue or paint.
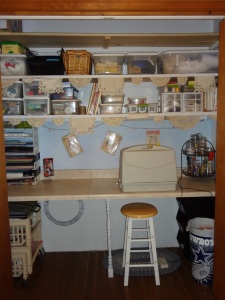
Once the counter was installed, I decided it really needed some kind of additional support in the middle. Years ago, we removed a banister railing from the family room saving the spindles for re-purposing. The spindle fit perfectly! I painted with the same paint used for the walls and then distressed it a bit. The stool fits perfectly under the counter and is just the right height. I had bought it when the boys were young for our hair cutting stool. They are grown and gone, and now the stool has a new home and use.
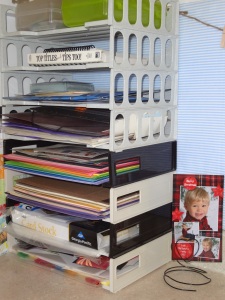
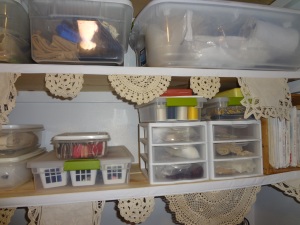
I function best when things are organized, so how did I organize sewing, crafts and scrapbook materials? On the left end of the counter is all my scrapbook supplies. They are easily accessible and I have plenty of counter to work on. Above the tray stackers are my craft items.
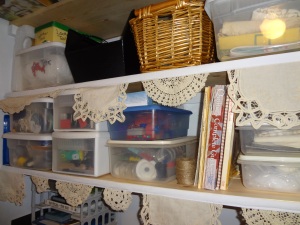
The right end is for sewing. My machine will stay on the counter top so I can easily grab a few minutes here and there to work on a project without having to get it out and put it away. Above the machine, the shelves hold sewing notions, fabric, patterns, books…
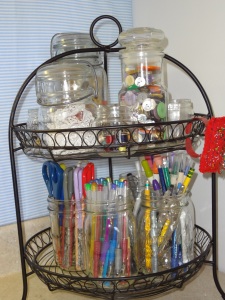
I used a wire pie server and jars to help keep odds and ends corralled. On the top rack are items for sewing and the bottom is craft pens and scissors. This can easily be moved from one end or the other of the counter depending on the project I’m working on. The jars can also quickly and easily be removed to use the wire server as it was originally intended.
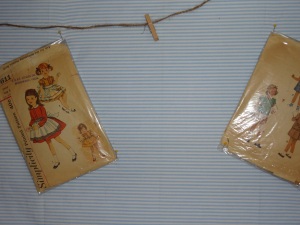
Oh! I almost forgot – my idea board. I found a fabric remnant in my stash that was just the right size to cover a piece of styrofoam insulation. The foam was cut to fit the wall between the counter and bottom of first shelf support. The blue ties into the bedroom colors, and teamed with white stripes keeps things light. I can use push pins to attach project ideas or supply snippets, or I can clip with mini clothespins onto the jute rope. This work center did need some additional light. I relocated an under counter light that was not being used and attached beneath the first shelf.
For eye appeal and the finishing touch, I used the doily bunting I made for my daughter’s wedding. I used glue dots to attach bunting to the edge of the shelves. Who would have thought that a closet could be your favorite place to hangout? Well, while the winter weather is here, this is my new go-to space! This project came together quicker than I thought it might, so I’ve already had a few days to use it. I have been sewing, sewing, sewing.
